Back in 2010 I did the full Permaculture Design Course, and as part of the course, I learned how to build a small greywater system*. The system was built in a small community garden and could easily be used at home.
With greywater harvesting, you are trying to recycle dirty water, which you may then use in the garden. A greywater system filters and recycles water from when you have been washing up the dishes, taking a shower or bath, or doing the laundry. The system described here is just for greywater from washing up.
You can pour dishwater straight onto the garden, but only if it's just a bit dirty and soapy. If it's got lots of grease or oil in it, you wouldn't want to pour that onto the garden, you would want to clean it first, via a system like this. Any food you harvest is just rinsed like you would any shop bought fruit and vegetables. Note: don't use greywater directly onto your plants or via this system if it has any chemicals in it.
The system described was set up in order recycle used washing up water from events ran at the community garden, turning greywater into clean filtered water that could then go into the pond.
Figure 1. A list of tasks that need to be undertaken in order to build the greywater system.

Figure 2. A large recycled plastic barrel has been cut in half, with bendy black nozzels coming out the size, sitting on bricks, one higher than the other.

Figure 3. A large used water bottle (c. 15 litres) with the bottom cut off, turned upside and added to the higher of the barrels.

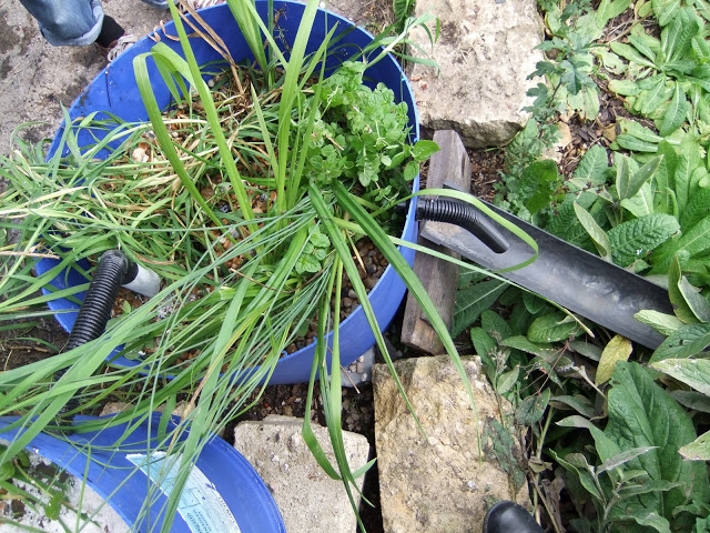
Figure 4. A L-shaped pipe has been added to the lower barrel, connected to the black nozzle. The bottom part of the L pipe has a series of holes in it, to allow water to filter through.

Figure 5. Medium-sized gravel has been added to the lower barrel, so it is just covering the pipe with holes in figure 4.

Figure 6. A rectangle slate being cut to size and is then sat on top of the gravel in figure 5.

Figure 7. A view of the placing of the slate, which has been put on top of the gravel shown in figure 5.

Figure 8. Perlite has been added to both barrels, filling up three quarters of each barrel.

Figure 9. Water has been added to each barrel, filling each up about half way.

Figure 10. A view of how both barrels now look, filled with respective piping, gravel, perlite and water, along with the water bottle sitting in the top barrel.

Figure 11. Marginal plants (those that live close to the waters edge), including the soil they were dug up with, are added to both barrels. The plants were gathered from a nearby stream. Once planted, add some more gravel around them to help hold them in place.

Figure 12. A sieve has been placed inside the water bottle from figure 3, which will help with filtering out larger deposits from greywater.

Figure 13. A tub of greywater (after some dishes have been washed) is being added to the water bottle in the top barrel.

Figure 14. A close-up of the inside edges of the two barrels. You can see some greywater has reached the black nozzle that filters greywater through the top barrel, into the lower barrel.

Figure 15. The lower large barrel, the bendy black nozzle spills onto a piece of black guttering that allows the water to flow down into the garden bed. In this case, the clean water was filtering into an area of the garden with plants that liked waterlogged soils. If you don't have that sort of site in your garden, or if your system is in heavy use and you don't want to over-saturate an area, you could build it further off the ground and then filter the clean water into a bucket or watering can from which you could water other plants in the garden.

Figure 16. The completed greywater system.

One limitation to this particular system is that being a smaller sized greywater system, it meant that only so much greywater could be filtered at a time. So for bigger public events that ran all day, probably only 1/4 off all greywater created was able to be filtered. So what couldn't be used on the vegetable and flower beds (for example, because it was too greasy), had to go down the drain. So build the largest that you can reasonable do so, as space permits.
This greywater system was regularly used by the community garden. Some education was needed, to teach garden users how the system worked and to ensure that people put the greywater in the right place and to clean the sieve regularly so that it didn't get clogged. But on the whole, it was well-received and did a good job.
* * * * *
*Now that Sunbeam.City has it's own Plume instance, I thought it was a good place to post it now that I've finally written it up!

Comments
No comments yet. Be the first to react!